참고
Enterprise custom roles and enterprise teams are in public preview and subject to change.
Overview
You can use custom roles and enterprise teams to delegate AI administration permissions without granting enterprise ownership. AI managers can view and manage nearly all AI features in your enterprise's AI Controls, including agentic AI features, Copilot features, and Model Context Protocol (MCP) features.
Unless you grant additional permissions beyond those listed in this article, AI managers cannot access the following:
- Access management settings for Copilot
- Settings in the "Billing" section of the Copilot page
- Settings in the "Metrics" section of the Copilot page
1. Create a custom role for AI management
To get started, you need to create a custom role with the necessary permissions for AI management.
-
귀하의 기업으로 이동하세요. 예를 들어 GitHub.com의 Enterprises 페이지에서.
-
페이지 맨 위에 있는 사람을 클릭합니다.
-
왼쪽 사이드바에서 Enterprise 역할을 클릭한 다음, 역할 관리를 클릭하세요.
-
사용자 지정 역할 만들기를 클릭합니다.
-
To clarify the purpose of the role, give it a name and description.
-
In the "Add permissions" section, use the search bar to find and select the following permissions:
- Manage enterprise AI controls: Allows this role to view and manage all settings in the "AI Controls" tab for your enterprise
- Read enterprise audit logs: Allows this role to view all audit log events for your enterprise, helping your AI managers monitor agentic activity
- View Enterprise Copilot Metrics: Allows this role to view Copilot usage metrics under the "Insights" tab
-
Click Create role.
2. Create an enterprise team for AI management
Now that you have created your AI manager role, you need to set up an enterprise team and add your future AI managers as members.
- In the sidebar of the "People" tab, click Enterprise teams.
- Click Create Enterprise team.
- Give your team a name, then click Create Enterprise team.
- On the team page, select the Add members dropdown menu, then click the members of your enterprise you want to grant AI management permissions to.
- To confirm your selections, click Add.
3. Assign the AI management role to your team
With both your AI management role and team created, you can now assign the role to your team, granting management permissions to your team members.
- In the sidebar of the "People" tab, select Enterprise roles, then click Role assignments.
- On the "Enterprise role assignments" page, click Assign role.
- In the "Assign role to" section, select the Select user or team dropdown menu, then click your AI management team.
- In the "Select role" section, click your AI management role.
- At the bottom of the page, click Assign role.
4. Grant your AI managers bypass permissions for 에이전트 프로필
If you have created a ruleset targeting 에이전트 프로필 in your enterprise, you can grant bypass access to allow your AI managers to create and edit those profiles. This access also lets your AI managers merge pull requests modifying those files, allowing your developers to propose 사용자 지정 에이전트 while maintaining your enterprise's security standards.
-
페이지 맨 위에서 AI 컨트롤을 클릭합니다.
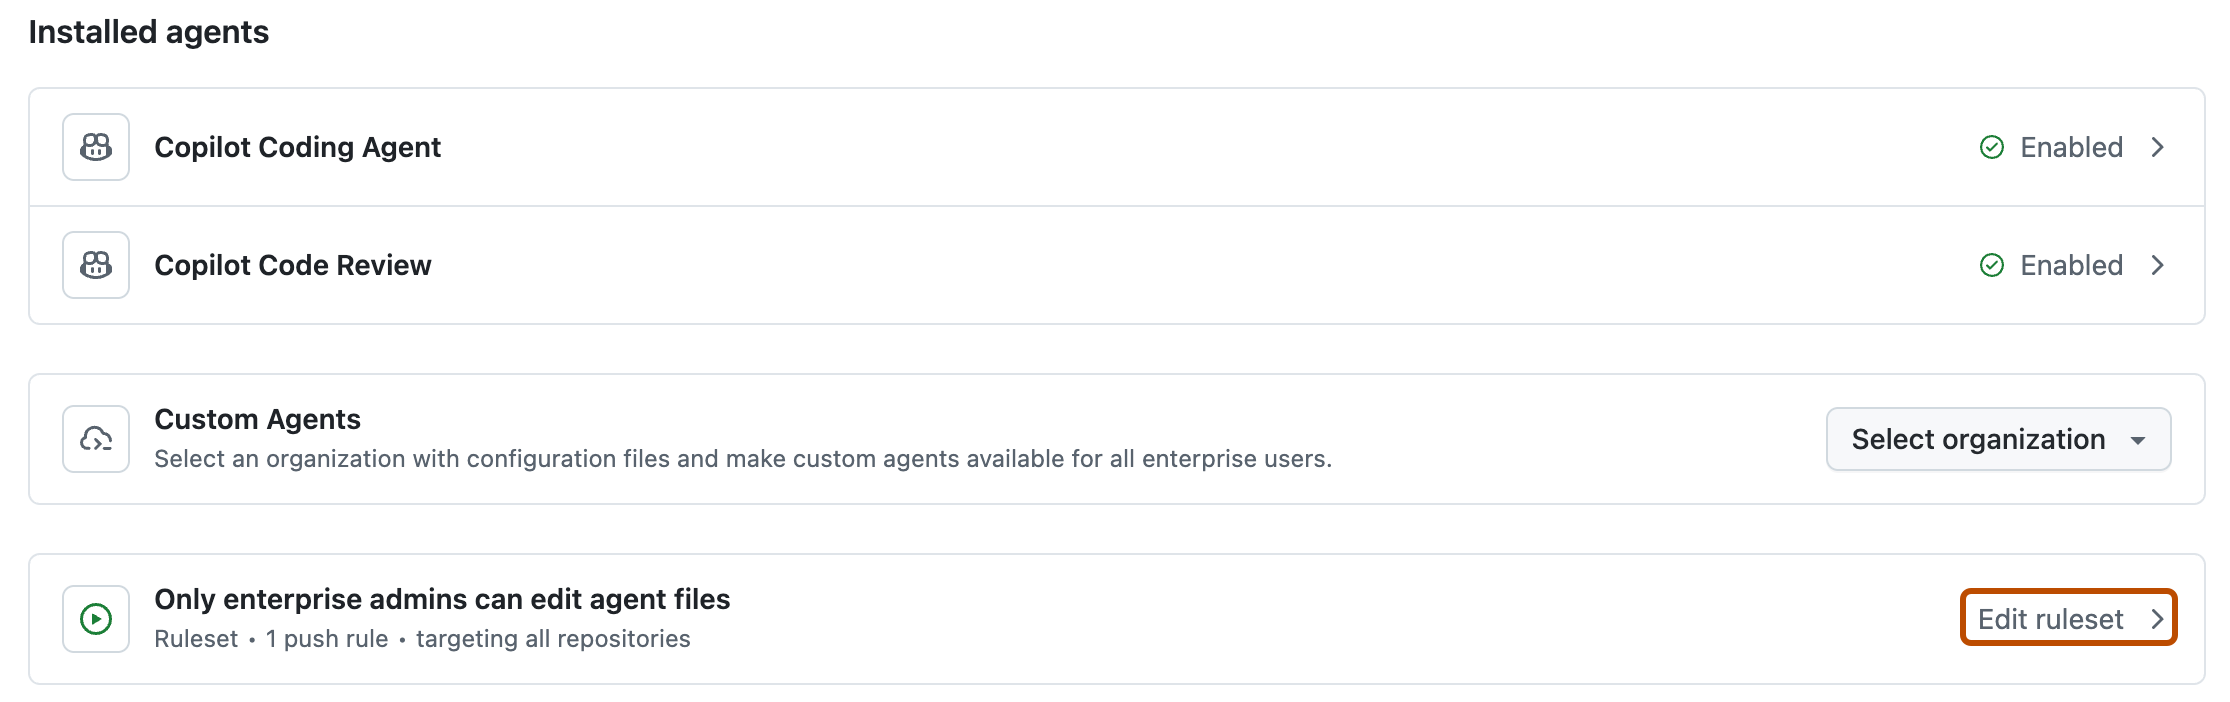
-
In the "Only enterprise admins can edit agent files" field, click Edit ruleset .
-
In the "Bypass list" section, select the Add bypass dropdown menu, then click your AI management team.
-
At the bottom of the page, click Save changes.
